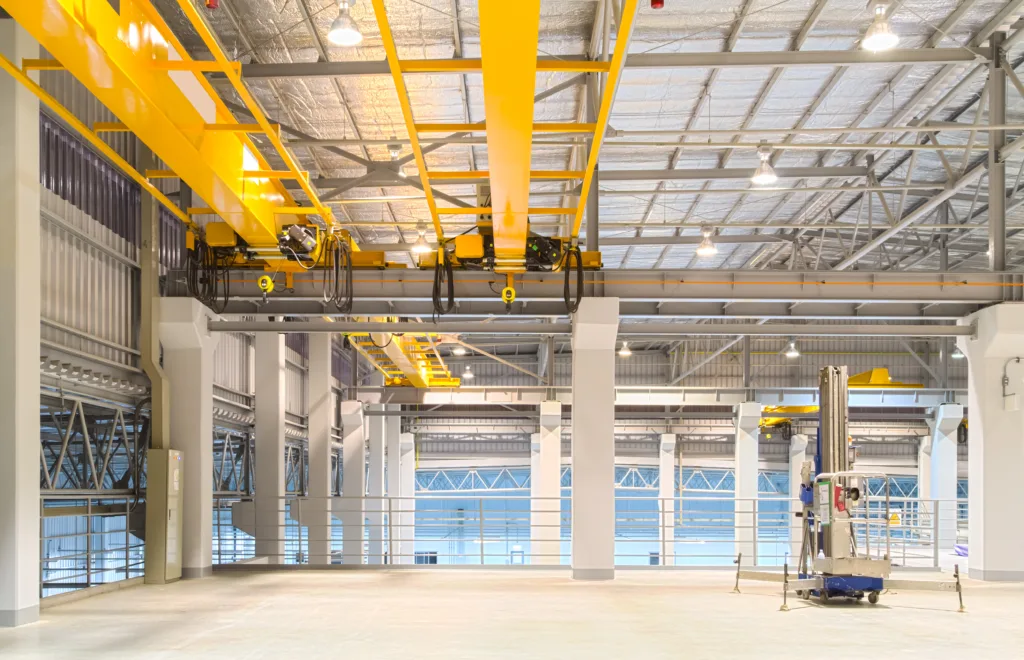
If you’re planning to add or upgrade a crane in your production environment, the choices can feel endless. This practical guide helps you define requirements, compare options, and avoid costly missteps—so your new crane delivers safe, predictable throughput from day one.
Step 1: Define the Work (Not Just the Weight)
-
Capacity & load profile: What’s the heaviest and most frequent lift? Don’t spec the entire system only for a rare peak load.
-
Lift height & hook approach: Confirm clearances, building obstructions, mezzanines, and required hook coverage.
-
Cycle frequency: How often will the crane move? Duty and heat build‑up matter in production.
Pro tip: Create a short “top 10 lifts” table (weight, pick point, path, frequency). This aligns engineering, safety, and operations.
Step 2: Match Duty Class to Reality
Duty class influences frame strength, motor sizing, brakes, gearboxes, and the crane’s overall life. Typical classes range from light/intermittent use up to continuous/severe service. If your line runs multiple shifts or has frequent starts/stops, do not underspec. Choosing the correct duty class reduces unplanned downtime and long‑term maintenance.
Step 3: Choose the Right Configuration
-
Single‑girder vs. double‑girder: Single is lighter and cost‑effective; double can offer higher capacity, better hook height, and more options for walkways and lights.
-
Top‑running vs. under‑running: Top‑running maximizes capacity and hook height; under‑running can be a good fit for lighter loads and tighter spaces.
-
Hoist type:
-
Wire rope hoists: higher capacities, smoother high‑duty cycles.
-
Chain hoists: economical for lower capacities and workcells.
-
Step 4: Controls, Speed, and Precision
-
VFDs (variable frequency drives) provide soft starts/stops, better positioning, and reduced wear.
-
Radio remote controls enhance operator mobility and line‑of‑sight safety.
-
Anti‑sway & creep speed features improve precision placement for assembly and fixtures.
Step 5: Safety & Operator Experience
-
Overload protection, end‑stop limits, and collision avoidance reduce risk.
-
Zone control (no‑go areas) helps protect equipment and people.
-
Lighting on the bridge, audible/visual alarms, and load displays build operator confidence.
Step 6: Building Interface & Runway
-
Verify runway beam sizing, column spacing, and wheel loads with your building engineer.
-
Confirm power delivery (conductor bar or festoon), grounding, and panel locations.
-
Consider future expansion: spare panel capacity, longer runways, or a second bridge down the road.
Step 7: Lifecycle Cost (Beyond the Bid)
-
Energy use: VFDs and efficient motors can reduce consumption and heat.
-
Wear items & parts availability: Standardize hoists and controls across bays when possible.
-
Service access: Platforms and walkways can lower service time, improving uptime.
-
Training & inspections: Budget for operator training and periodic inspections to maintain safety and compliance.
Quick Spec Worksheet
-
Max/frequent load & dimensions
-
Required hook coverage (X/Y/Z)
-
Duty profile (hours/day, starts/hour)
-
Environment (heat, dust, moisture, washdown)
-
Required placement precision
-
Preferred controls (pendant/radio)
-
Power & building constraints
-
Future expansion needs

